





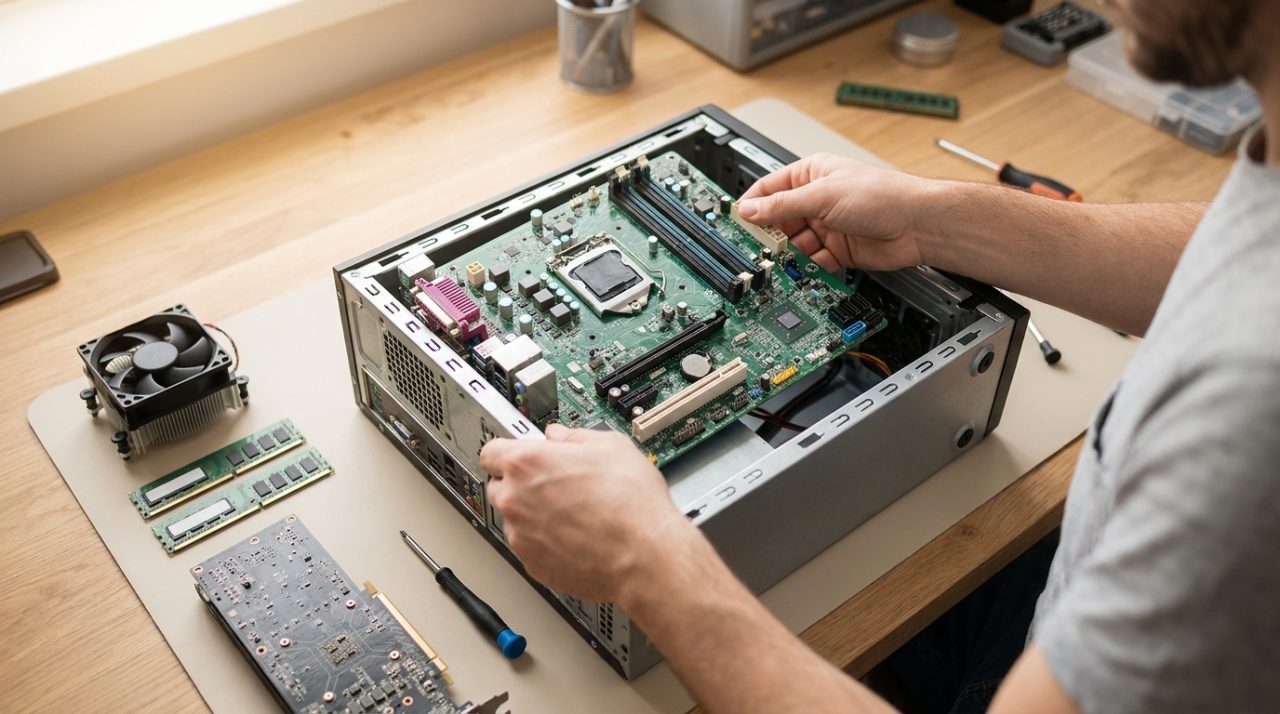
How to build a PC step by step: a complete beginner's guide (2026)
31 July 2026
Building a PC from scratch can seem intimidating if you have never done it before. Cables everywhere, slots you are not sure where they go, screws left over at the end... In reality, though, anyone with a little patience and the right instructions can do it. And the benefits are huge: you save money, you get exactly the performance you need, and you get to know your machine inside and out.
In this complete guide, we walk you through how to build a PC step by step, from choosing the components to switching it on for the first time. Whether you want to build a gaming PC that can handle the latest titles or you are after a powerful machine for work or study, here is everything you need to know.
What you need: a component list for building a PC
Before we begin, let's go over what parts you need. These are the essential components for building a PC:
- Processor (CPU) — The brain of the computer. It can be Intel or AMD.
- Motherboard — The one that connects and communicates all components with each other.
- RAM memory — The system's working memory. The more you have, the better your multitasking.
- SSD drive — Where the operating system and programmes are installed. Much faster than a traditional HDD.
- Graphics card (GPU) — Essential for gaming, 3D design or video editing.
- Power supply (PSU) — Supplies power to all components.
- Case or tower — The housing that holds everything.
- Cooling — Heatsink for the CPU (may be included, or you can buy a better one).
In addition to the components, you will need:
- A medium-sized Phillips head screwdriver
- Thermal paste (if the heatsink doesn't include it)
- An anti-static wrist strap or anti-static surface (recommended)
- Cable ties or Velcro for cable management (optional but very useful)
Step 1: Choose the right components
Why is compatibility so important?
Not all components work together. The processor must be compatible with the motherboard (same socket), the RAM must be of the type supported by the board (DDR4 or DDR5), and the power supply must have enough wattage to power the entire system. Taking the time to get this step right saves you a lot of headaches.
Processor (CPU): Intel or AMD
In 2026, both Intel and AMD offer excellent processors for every budget. For a first mid-range gaming PC, an option like the AMD Ryzen 5 or Intel Core i5 is more than enough. If you want more power for streaming, video editing or professional work, step up to the Ryzen 7 / Core i7 range.
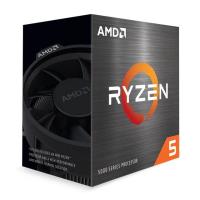
View AMD and Intel processors at Probyte →
? Related: The best gaming processors
Motherboard: the backbone of your PC
The motherboard must be compatible with your processor. Pay attention to the socket (AM5 for current Ryzen CPUs, LGA1851 for Intel) and the chipset, which determines the available features: overclocking, number of USB ports, M.2 slots for SSDs, etc.
For a standard build, a mid-range motherboard offers everything you need without paying over the odds: B650 or B850 chipsets on AMD (socket AM5) and B860 on Intel for the current LGA1851 socket. If you choose a 12th to 14th gen Intel (socket LGA1700, still widely sold for its price), its mid-range chipset is the B760 — never mix an LGA1700 board with an LGA1851 processor or vice versa.
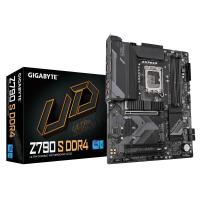
View motherboards at Probyte →
RAM: speed and capacity
16 GB of RAM is the recommended minimum for gaming and general use in 2026. If you plan on video editing, 3D design or running virtual machines, consider 32 GB. Make sure the RAM speed (expressed in MHz) is compatible with your motherboard.
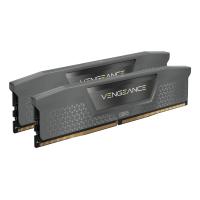
? Related: 16, 32 or 64 GB? How much RAM you really need · How RAM affects your FPS
SSD: storage speed
Forget mechanical hard drives for your operating system. An NVMe M.2 SSD is between 5 and 10 times faster than an HDD and will have your PC booting in seconds. For the operating system and main programs, 500 GB or 1 TB is more than enough. You can add another SSD or an HDD for additional storage.
Graphics card: the heart of a gaming PC
If your goal is gaming, the graphics card (GPU) will likely be the most important component (and the most expensive). For 1080p at high quality, a mid-range GPU is more than sufficient. For 1440p or 4K, you'll need a high-end card. NVIDIA and AMD are the two main manufacturers; both offer excellent options.
View graphics cards at Probyte →
? Related: The best budget graphics cards
Power supply: don't skimp here
The power supply is one of the components where you should skimp the least. A low-quality PSU can damage the rest of your system. Choose one that is at least 80 Plus Bronze (Gold or Platinum is better) and with enough wattage for your components. As a general rule, if you have a high-end GPU, you'll need between 650 W and 850 W.
View power supplies at Probyte →
Case or tower: space and airflow
The case determines what size motherboard you can use (ATX, Micro-ATX, Mini-ITX) and how many fans it can fit. For a first PC, a medium-sized ATX case is the most comfortable option: there's enough room to work in, it has good airflow and it supports most components on the market.
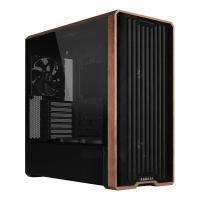
View cases and towers at Probyte →
? Related: How to choose a case for your gaming PC
Cooling: keep your CPU cool
Many processors come with a heatsink in the box (the so-called stock cooler). It works, but if you want less noise or lower temperatures, it's worth investing in an aftermarket cooler or, if you're feeling adventurous, liquid cooling.
View cooling systems at Probyte →
? Related: Which liquid cooler should you choose?
Step 2: Prepare your workspace
Find a spacious table that is well lit and free from carpets or surfaces that generate static electricity. Remove plastic bags when you don’t need them. Before touching any component, touch a metal surface (such as the case chassis) to discharge static electricity.
Have all the component boxes with their manuals at hand: the motherboard in particular includes very clear instructions on how to install each part.
Step 3: Mount the motherboard outside the case (first check)
A helpful trick for beginners is to do a test installation outside the case before assembling everything. This way, you can check that the components work before screwing everything in.
Install the processor on the motherboard
- Take the motherboard out of its box and place it on its antistatic packaging on the table.
- Open the CPU socket (there is a lever or a pressure mechanism depending on the manufacturer).
- Align the processor with the notch or the arrow indicating the correct orientation.
- Gently place the CPU, without forcing it. Never push with force.
- Close the socket retention mechanism.
Install the RAM
- Open the tabs on the RAM slots.
- Consult the motherboard manual to find out which slots to install the modules in (usually slots 2 and 4 to take advantage of dual channel mode).
- Align the notch on the module with the slot and press firmly until the tabs click.
Install the M.2 SSD (if applicable)
If your SSD is M.2 format, now is the time to install it in the M.2 slot on the motherboard before placing it in the case. Insert the SSD at an angle, press down, and secure it with the corresponding screw.
Step 4: Prepare the case
- Remove the side panels from the case.
- Install the brass standoffs in the holes corresponding to the size of your motherboard (ATX, Micro-ATX, etc.). These standoffs raise the motherboard so that it does not make direct contact with the metal of the case.
- Install the I/O panel (the rear port shield) that comes with the motherboard. It fits from the inside outwards into the rectangular gap at the rear of the case.
See cases and towers at Probyte →
Step 5: Install the motherboard into the case
With the standoffs and I/O panel already in place, lower the motherboard into the case, aligning it with the standoff holes and the rear panel. Screw the motherboard in a cross pattern (as if tightening a car's wheels) to distribute pressure evenly. Do not overtighten.
Step 6: Install the power supply
The power supply is usually installed at the bottom rear of the case. Insert it with the fan facing downwards (if the case has a ventilation grille at the base) or upwards if it does not. Screw in the four PSU screws from the rear of the case.
View power supplies at Probyte →
Step 7: Install the CPU cooler
- Apply a small amount of thermal paste to the centre of the processor (pea-sized) if the cooler does not already have it pre-applied.
- Fix the cooler onto the processor following the manufacturer's instructions. Each model has a different mounting system.
- Connect the cooler fan cable to the CPU_FAN header on the motherboard.
View cooling systems at Probyte →
Step 8: Install the graphics card
- Remove the rear expansion slot covers from the case that correspond to the position where the GPU will go.
- Insert the graphics card into the PCIe x16 slot on the motherboard (usually the longest slot, the one closest to the processor). Press down until the retention clip clicks.
- Screw the GPU to the case using the screws on the rear bracket.
See graphics cards at Probyte →
Step 9: Connect all the cables
This is the step that scares beginners the most, but with the motherboard manual in front of you, it's simpler than it looks. The main cables you need to connect are:
- 24-pin ATX cable → main power connector for the motherboard
- 8-pin (or 4+4) cable → processor power, in the top-left corner of the motherboard
- 6+2-pin PCIe cable(s) → graphics card power (if required)
- SATA cables → for additional SATA SSDs or HDDs
- Front panel cables → Power button, Reset, HDD activity LEDs, front USB, front audio. The motherboard manual indicates exactly where each pin goes.
- Fan cables → connect the case fans to the SYS_FAN connectors on the motherboard
Tip: Route the cables behind the chassis whenever you can. It improves airflow and the overall look of the build.
Step 10: First Power-On and BIOS Configuration
It's time for the moment of truth! Before sealing the case, connect a monitor, keyboard, and mouse, and press the power button.
What Should Happen?
- The fans start spinning.
- The monitor displays the BIOS screen or a manufacturer's logo for the motherboard.
Basic BIOS Setup
- Enter the BIOS by pressing the key indicated at startup (usually Delete, F2, or F12).
- Verify that the processor and RAM are detected correctly.
- Enable the RAM's XMP/EXPO profile so that it runs at its rated speed.
- Configure the boot order so that your USB drive with the operating system installer is the first device.
- Save the changes and restart.
Step 11: Install the operating system
With a USB stick previously prepared with the Windows 11 installer (or the Linux distribution of your choice), follow the on-screen steps to install the operating system. Once finished, install the drivers for the motherboard, graphics card and other components. Most manufacturers have these available on their website.
Common mistakes when building a PC (and how to avoid them)
- Forgetting to install the I/O shield before the motherboard. This is the most common mistake. Once the motherboard is screwed in, you have to take it all apart to fit it.
- Not connecting the 8-pin CPU cable. The PC won't start if this cable is missing.
- Applying too much thermal paste. It won't improve performance and can get on the processor's pins.
- Installing the RAM in the wrong slots. Check your motherboard manual.
- Not connecting the GPU power cable. The graphics card won't work without it.
How much does it cost to build a PC in 2026?
The cost depends entirely on your goals. As a rough guide:
| Type of PC | Price range (components only) |
|---|---|
| Office and study PC | 350 – 550 € |
| Entry/mid-range gaming PC | 600 – 900 € |
| High-end gaming PC | 1,000 – 1,800 € |
| Professional workstation PC | 1,500 € and upwards |
In all cases, building the PC yourself works out significantly cheaper than buying one pre-assembled, and you get exactly what you need.
FAQ: Frequently asked questions about building a PC
Is it difficult to build a PC from scratch?
No. With the right instructions and a little patience, anyone can build their first PC in 2 to 4 hours. The components are designed to fit together in only one way, which minimises the risk of errors. The biggest challenge is usually cable management.
What tools do I need to build a PC?
Basically a Phillips screwdriver. It is also advisable to have thermal paste (if the cooler does not include it), an anti-static wrist strap, and cable ties to organise the cables. You do not need any special tools or advanced technical knowledge.
Can I build a gaming PC on a low budget?
Yes. With a budget of between 600 and 900 euros, you can build a gaming PC capable of running current games at 1080p with high quality. The key is choosing the components wisely and prioritising the processor and graphics card. At Probyte you will find options for all budgets.
What happens if the PC does not turn on the first time?
This is more common than it seems and almost always has a simple solution. Check that all power cables are properly connected (especially the 24-pin ATX and the 8-pin CPU), that the RAM is correctly inserted, and that the front panel cable (Power SW) is on the correct pins of the motherboard.
Do I also need to buy the operating system?
Windows 11 has an additional cost if you want an official licence. You can also install it in trial mode for free or choose a completely free Linux distribution such as Ubuntu, which is an excellent option for daily work and study.
Build your PC with the best components from Probyte
Now that you know how to build a PC step by step, all that's left is the most important part: the components. At Probyte you'll find everything you need to build your ideal setup, with the best prices and expert advice if you need it.
- Intel and AMD processors →
- Motherboards →
- RAM memory →
- SSD drives →
- Graphics cards →
- Power supplies →
- Cooling →
- Cases and towers →
Not sure which components to choose? Visit www.probyte.com and our team will be happy to help you configure the perfect PC for you.
Article updated in July 2026 | Probyte — Your computing and technology store
Latest posts

Hisense 32A5S Width in cm - Full Dimensions & Specs
4 September 2026
Need the Hisense 32A5S width in cm? We detail all dimensions, ideal spaces, and mounting tips. Discover if this 32-inch TV fits your room. Read more!
Read more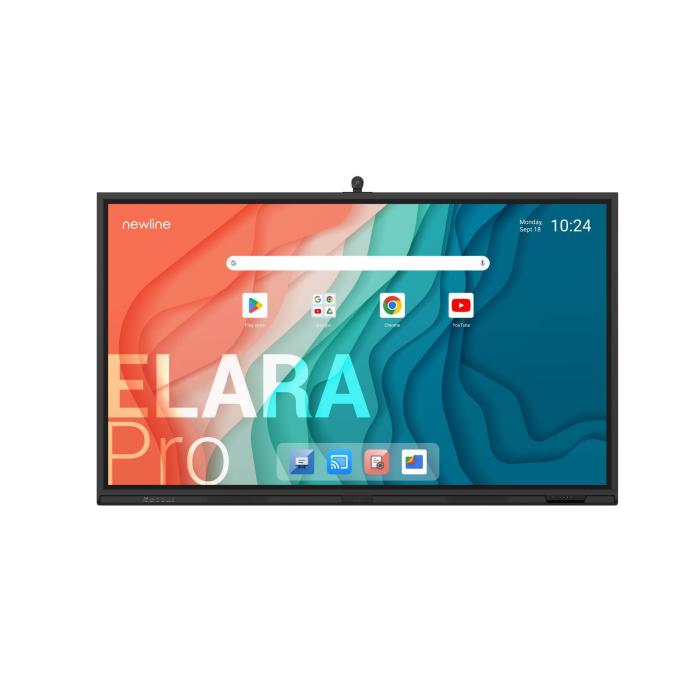
Newline Elara Pro 86" 4K: The interactive whiteboard transforming your classroom
4 September 2026
Discover the Newline Elara Pro 86" 4K interactive whiteboard: 50-point multi-touch, built-in Android and integrated audio for classrooms and meeting rooms.
Read more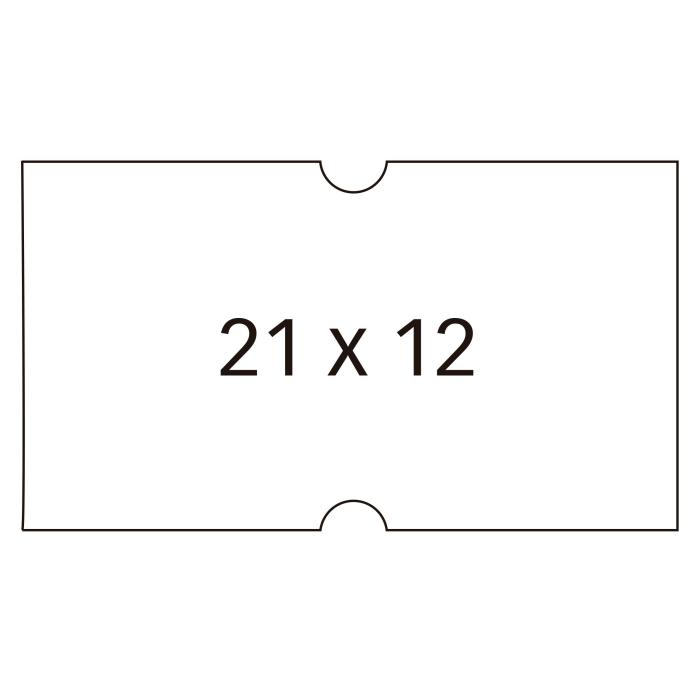
APLI Labels: Quality and Price for Your Office
4 September 2026
Looking for reliable labels to organise your office, files or products? APLI labels are the top choice for thousands of professionals and households across Europe, offering a comprehensive range of sizes and strong adhesion.
Read more